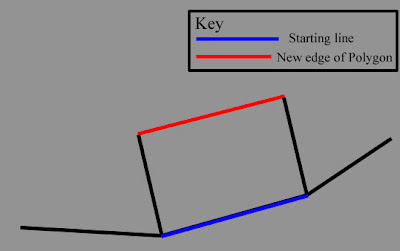
To create additional polygons I used a simple drag and copy method. Using the edge select option in edit poly, select an edge you want to add too and drag it out whilst holding down shift. This will create an additional polygon that is already attached to the starting edge. I repeated this until I had all the new polygons I needed.
If you have two new polygons next to each other they are joined to the original selected edge but they are not connected to each other. To connect them you switch back into vertex mode so that you can see all of the points on the model. Then in the side bar, select target weld and click a top vertex on one of the polygons. A dotted line will appear from the selected point as a reminder of which vertex has been selected. If you now click on the nearest top vertex on the next polygon the points will merge/weld. These points will now be joined. Test the weld by moving the vertex and seeing if the two polygons alter simultaneously.
 This image shows the results of the added polygons. I have also added a Turbo smooth modifier to give me an idea of the final result.
Ears
The ears were developed in the same way that I made the head. After producing a topology map for the ear I switched the properties of the model of the head to hidden. I traced the topology with the line tool to create the polygons. With the polygons selected I converted them using an edit poly modifier and selected the weld button to join them.
As with the head I modelled the ear in vertex mode, pulling points out to produce the basic shape. I also used the press shift and select short cut to create more polygons to add depth to the model.
With the ear modelled I re-introduced the head model and cut a hole for the ear by deleting polygons. The two models were attached by clicking the attach tool an then all points were welded using the target weld tool. Parts of the model had pulled due to the lack of polygons around the ear area. Just by playing with some of the points I managed to reduce the stretch considerably. 
No comments:
Post a Comment